What Is the Silicone Mold Production Process?
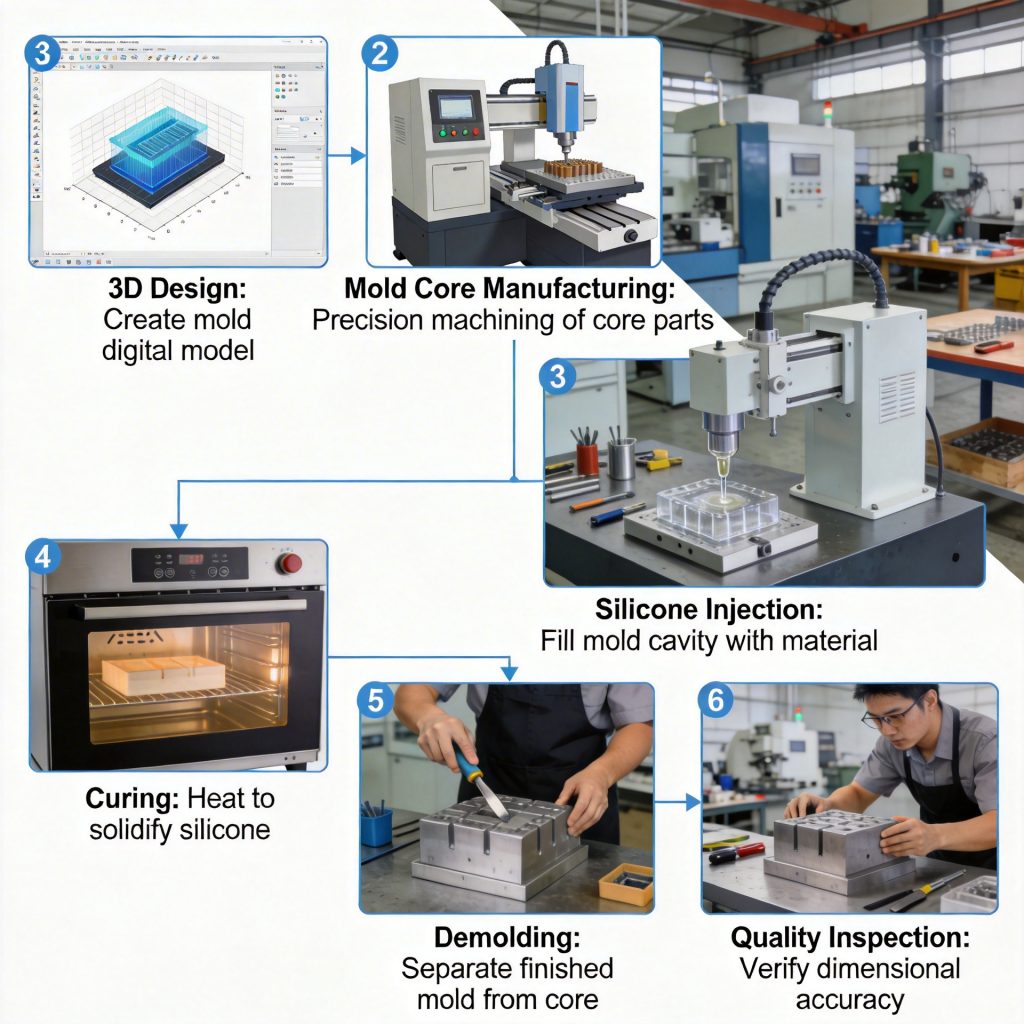
The silicone mold production process is a complete manufacturing workflow from design input to finished mold delivery. It includes 7 key steps: design input, master pattern creation, mold box setup, silicone mixing, curing, demolding, and quality control.
At BKSilicone, we follow this process for every custom mold project. Understanding these steps helps you plan lead time, communicate requirements, and avoid common production issues.
7-Step Silicone Mold Production Process
| Step | Action | Time | Key Points |
|---|---|---|---|
| 1. Design Input | Receive 3D CAD, 2D drawing, or sample | 1-2 days | STL/OBJ preferred. Physical sample acceptable. Design adjustment available. |
| 2. Master Pattern Creation | 3D print or CNC carve the pattern | 1-3 days | 0.05mm (<0.1 in) layer resolution. Surface finishing applied. Sealed for smooth mold surface. |
| 3. Mold Box Setup | Build container around pattern | 0.5-1 day | Acrylic/plastic walls. Silicone thickness 10-20mm (0.4 in–0.8 in) around pattern. |
| 4. Silicone Mixing | Mix platinum silicone, degas, pour | 4-8 hours | Weight-based mixing. Vacuum degassing removes bubbles. |
| 5. Curing | Wait for silicone to fully cure | 4-8 hours | Room temperature cure. Heat accelerates to 1-2 hours. |
| 6. Demolding | Remove master pattern from mold | 0.5-1 hour | Demold slowly. Support thin areas. Check for defects. |
| 7. Quality ControlInspect, test first cast | 1-2 hours | Surface check, dimension check, first sample test. |
Total production time: 5-15 days depending on design complexity and production queue.
Common Mistakes in Silicone Mold Production
Production delays and quality issues often come from avoidable mistakes:
Warning / Common Mistakes
| Mistake | Why It Happens | How to Avoid |
|---|---|---|
| Unclear design input | Vague drawings, photos only | Provide 3D CAD (STL/OBJ) or clear 2D drawings with dimensions. |
| Rough master pattern | Unsealed 3D print, rough surface | Seal and smooth pattern before molding. Rough pattern = rough mold. |
| Wrong silicone hardness | Assume Shore A 15 for all molds | Use Shore A 20-30 for detailed 3D. Shore A 10-15 for simple flat. |
| Skipping degassing | Time pressure, assume bubbles escape | Always vacuum degas. Bubbles cause surface holes. |
| Demolding too early | Not waiting full cure time | Wait 4-8 hours. Test with finger press before demold. |
| No first cast test | Ship mold without testing | Test first cast. Reveals surface issues before delivery. |
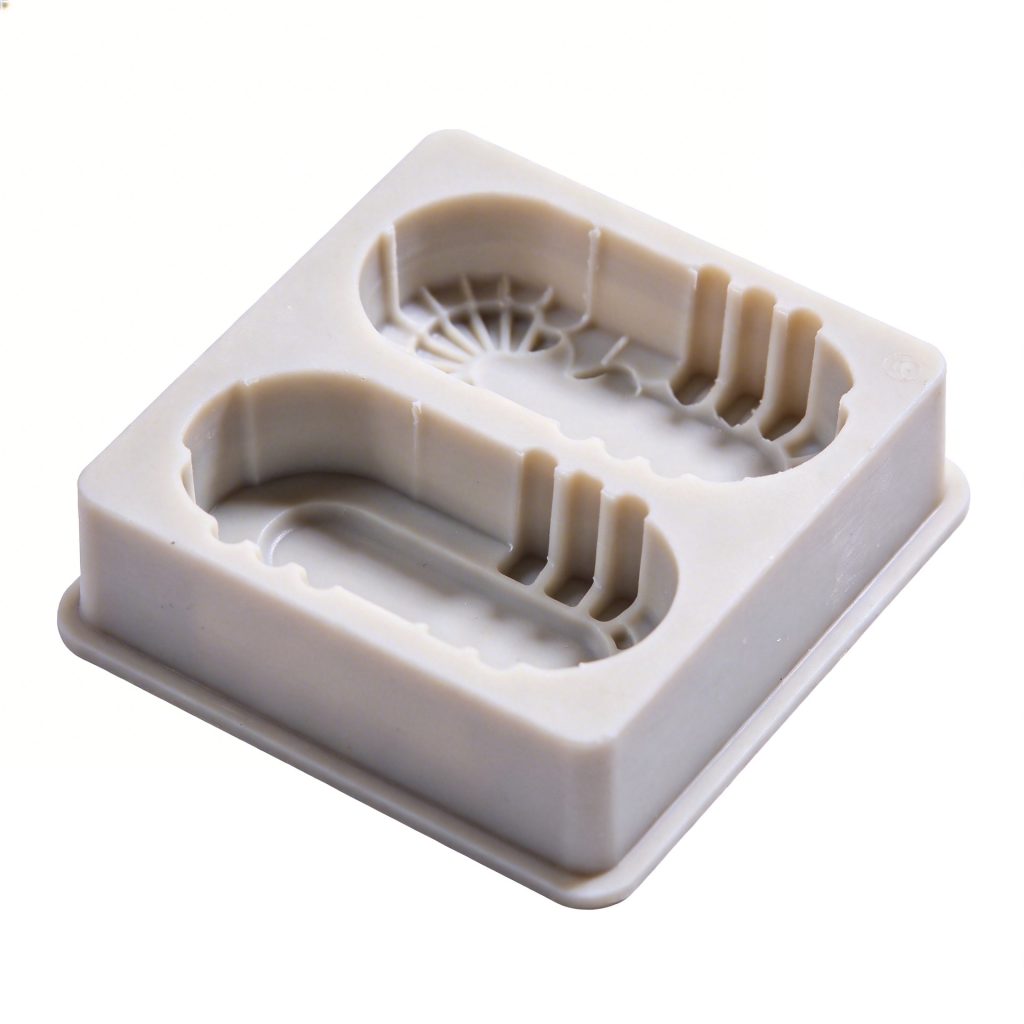
Warning: Rough master patterns produce rough molds. If your 3D print has visible layer lines or rough edges, the mold will copy them exactly. Invest in proper pattern finishing before mold production.
How BKSilicone Handles Production Process
In our factory, we follow strict production standards:
- Design review: Every design file checked before pattern creation
- 3D printed patterns: High-resolution printer (0.05mm (<0.1 in) layer) for smooth surface
- Platinum silicone: Food-safe silicone for most custom molds
- Vacuum degassing: Standard step, never skipped
- First cast test: Every mold tested before shipment
- QC checklist: 8-point inspection before approval
For custom mold service details, see our custom mold making guide.
Quality Control in Production Process
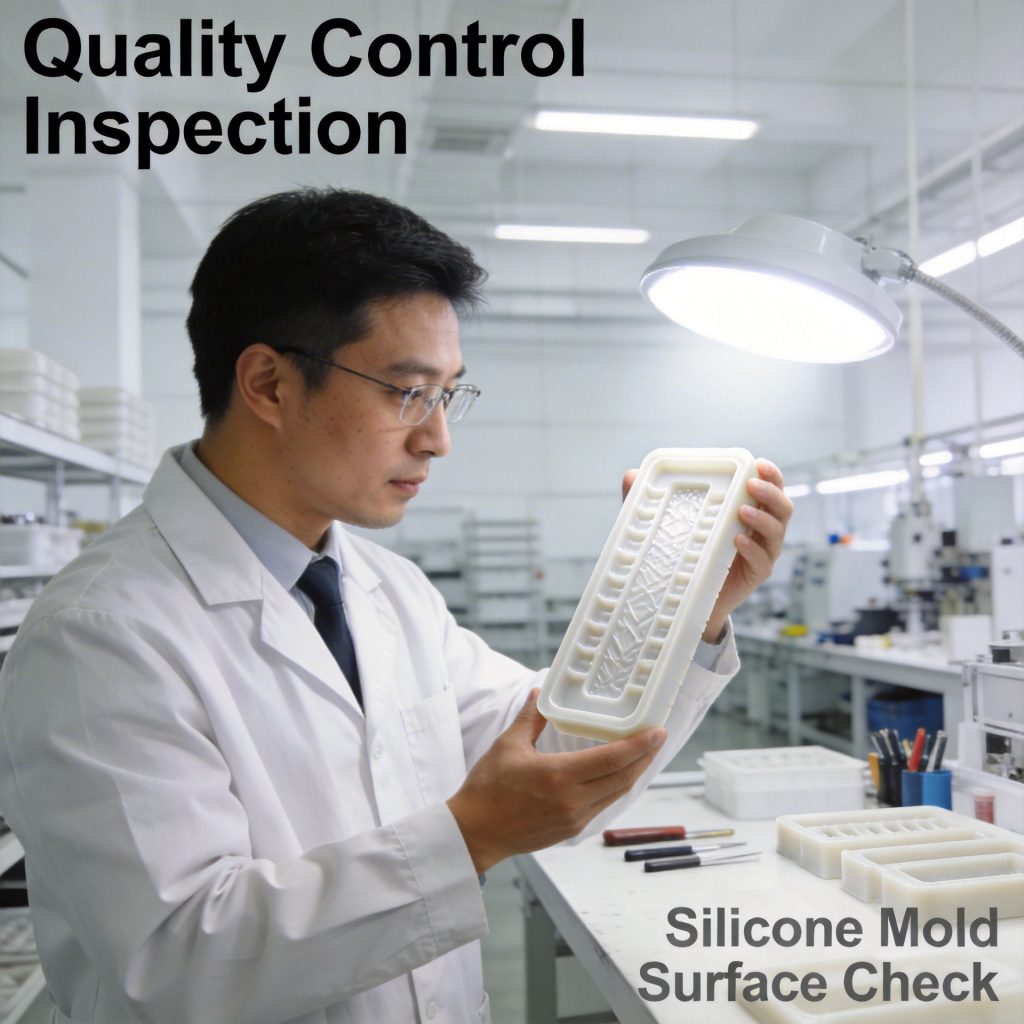
Quality control happens at multiple stages:
QC Checklist for Silicone Mold Production
| Stage | Check | Why It Matters |
|---|---|---|
| Pattern QC | ✅ Surface smoothness | Rough pattern = rough mold |
| Pattern QC | ✅ Dimension accuracy | Pattern size = final product size |
| Mold QC | ✅ No air bubble holes | Bubbles cause surface defects on cast |
| Mold QC | ✅ Complete curing | Under-cured mold tears easily |
| Mold QC | ✅ Tear strength check | Thin areas need adequate tear strength |
| Test Cast QC | ✅ First cast appearance | Reveals surface issues early |
| Test Cast QC | ✅ Demold ease | Difficult demold indicates design issue |
| Final QC | ✅ Packaging protection | Molds damaged in shipping if unprotected |
Checklist Before Starting Production
Before submitting your mold project, prepare these items:
Pre-Production Checklist
| Check | Why It Matters |
|---|---|
| ✅ Prepare 3D CAD (STL/OBJ) or clear 2D drawings | Clear input speeds up pattern creation |
| ✅ Specify casting material | Determines silicone type (food-safe vs industrial) |
| ✅ Estimate production volume | Affects silicone hardness and mold design |
| ✅ Confirm target dimensions | Affects pattern scale and mold box size |
| ✅ Ask about lead time | 5-15 days for most custom molds |
| ✅ Request first cast test | Reveals issues before mass production |
| ✅ Confirm packaging needs | Bulk packaging for wholesale orders |
| ✅ Check MOQ policy | Low MOQ available from factory-direct |
Need Custom Silicone Mold Production?
If you need custom silicone molds for candle production, resin casting, concrete decor, or OEM projects, BKSilicone provides factory-direct custom mold service with full production process control. We use 3D printed master patterns, platinum cure silicone, and strict quality control. For silicone basics, see our silicone mold guide. For platinum silicone properties, see our platinum silicone guide. Contact us to start your production project.