
This BKSILICONE workshop video follows a custom silicone mold from assembly to demolding. The six steps below match the process shown in the video, including pigment mixing and two separate silicone pours.
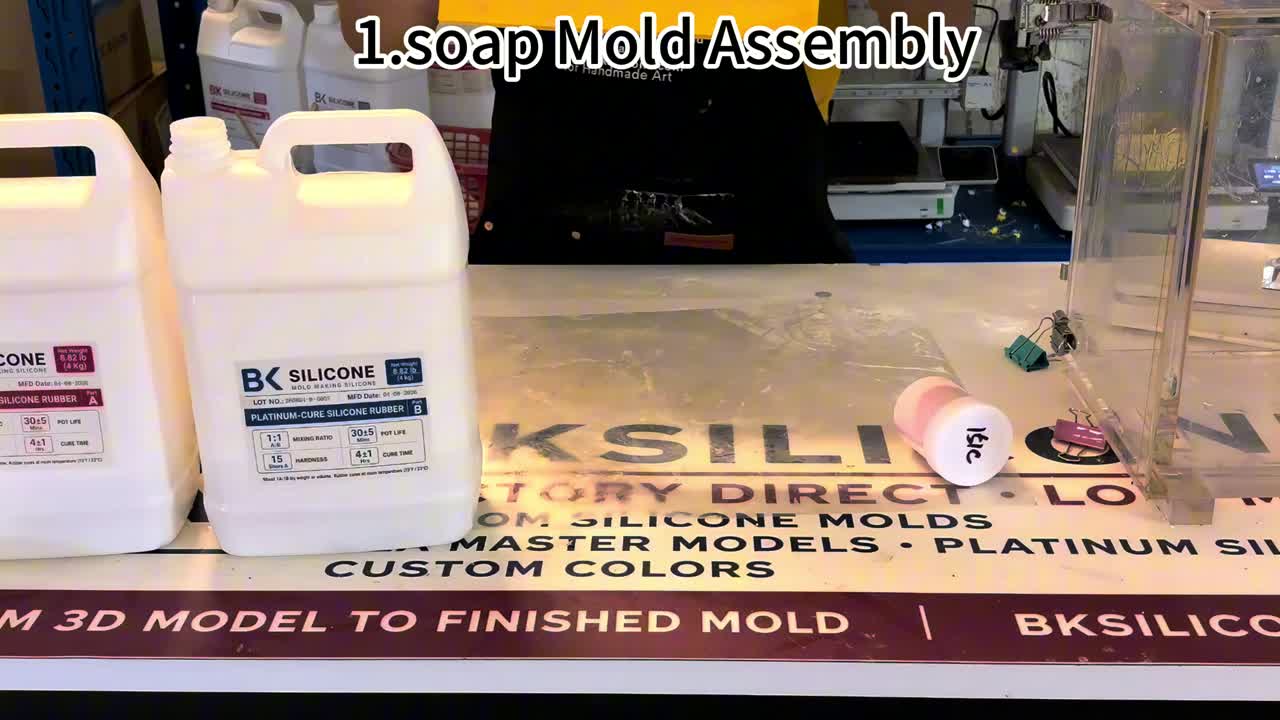
Step 1 — Mold Assembly
The mold is assembled before mixing begins.
Step 2 — Add Silicone Pigment Paste — 0.4–0.6% by Weight
Silicone pigment paste is added at the 0.4–0.6% by-weight amount shown for this project. This is a project-specific reference, not a universal dosage for every silicone or pigment. Follow the specifications for the materials you use. Customers who need a matched color can order custom food-grade silicone pigment paste for their project.
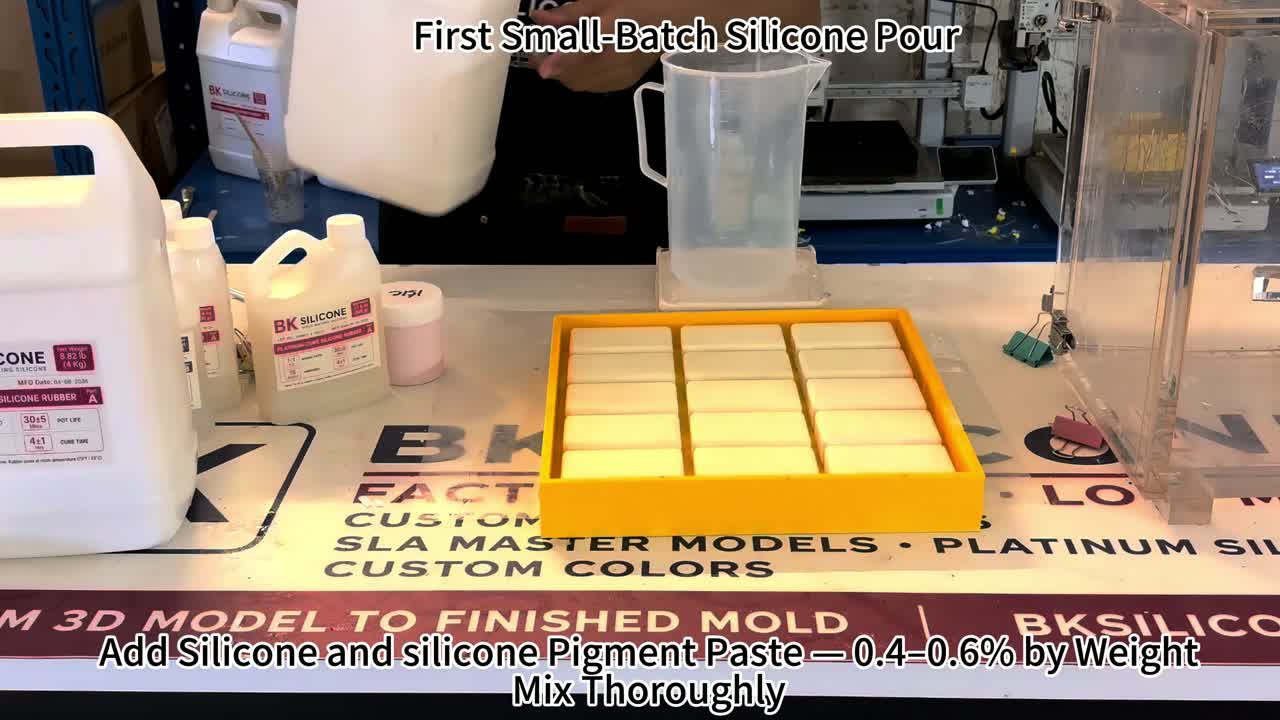
Step 3 — Mix Thoroughly
The silicone and pigment paste are mixed thoroughly until the color is evenly distributed. The video shows the orange mixture being prepared before pouring.
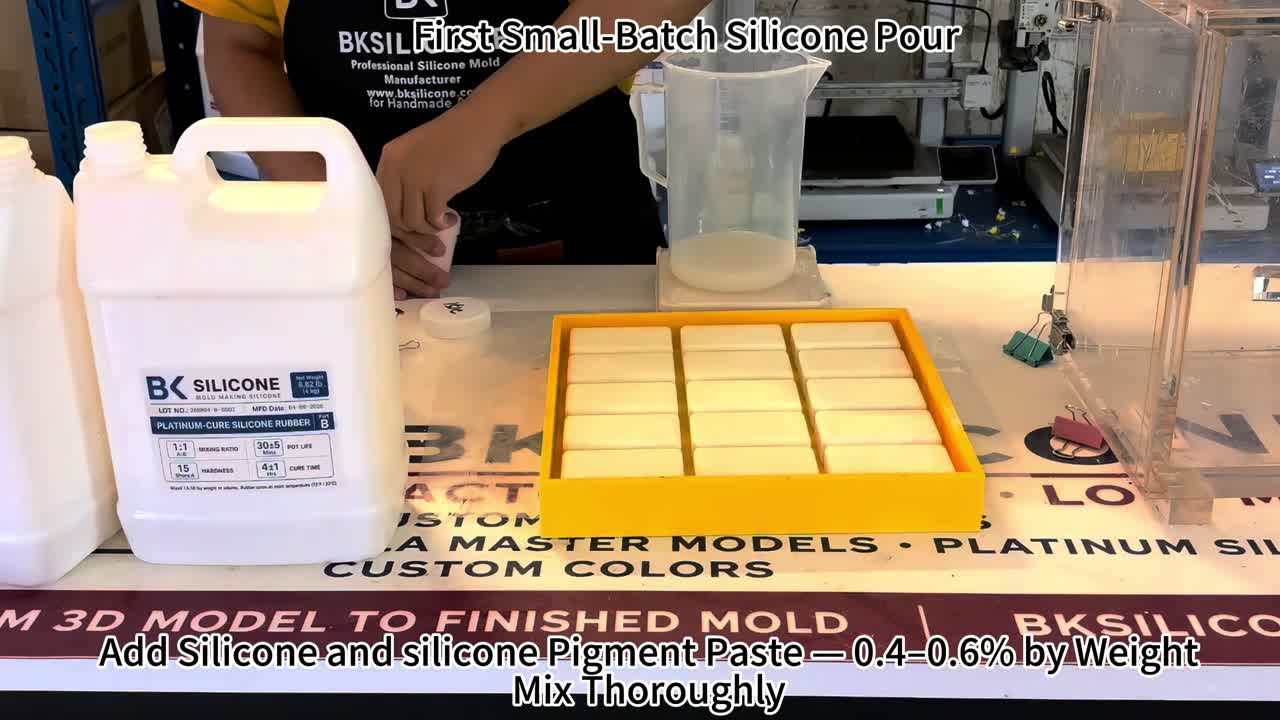
Step 4 — First Small-Batch Silicone Pour
A small batch of silicone is poured first across the assembled mold. The workshop sequence shows this initial pour separately from the later fill.
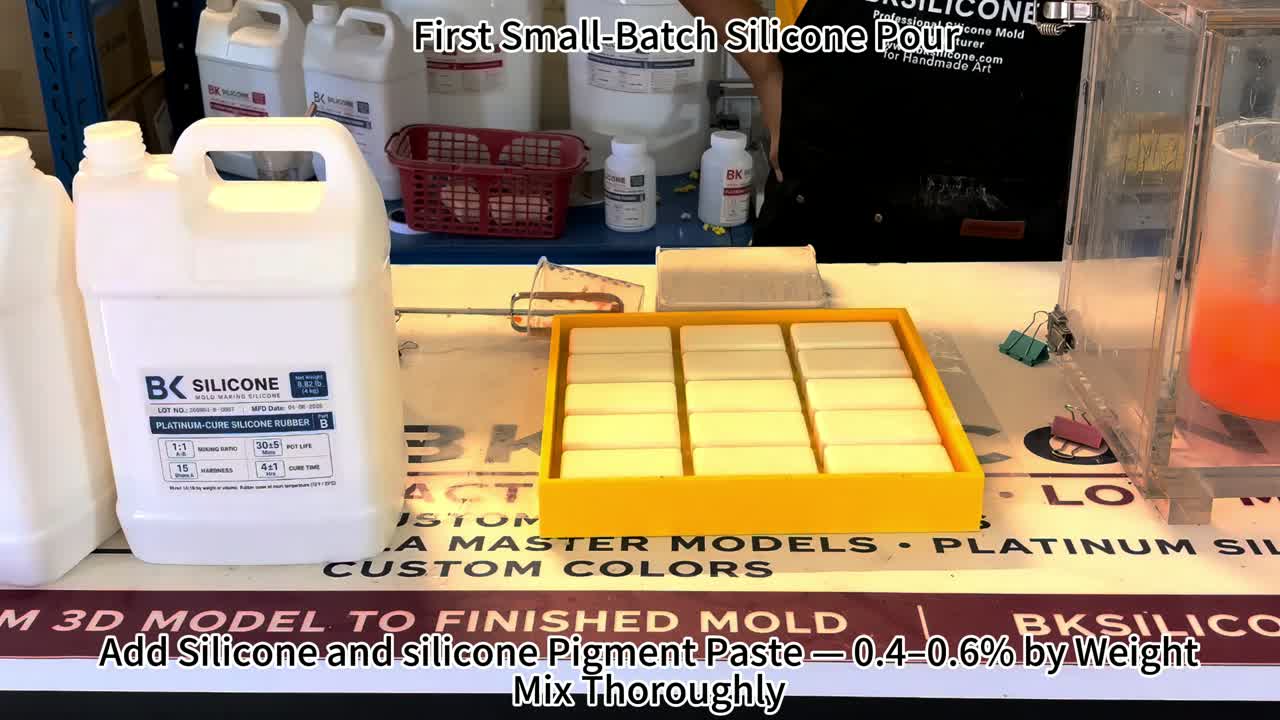
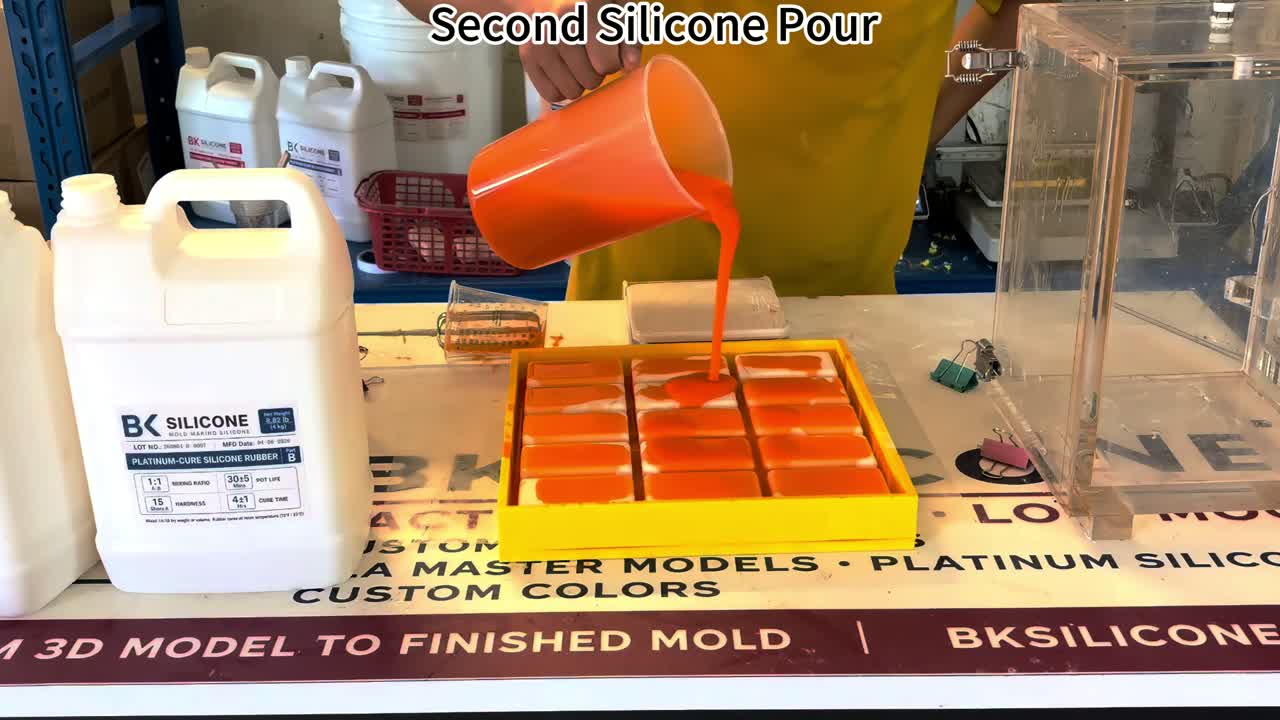
Step 5 — Second Silicone Pour
A second batch is mixed and poured to complete the silicone fill around the master shapes.
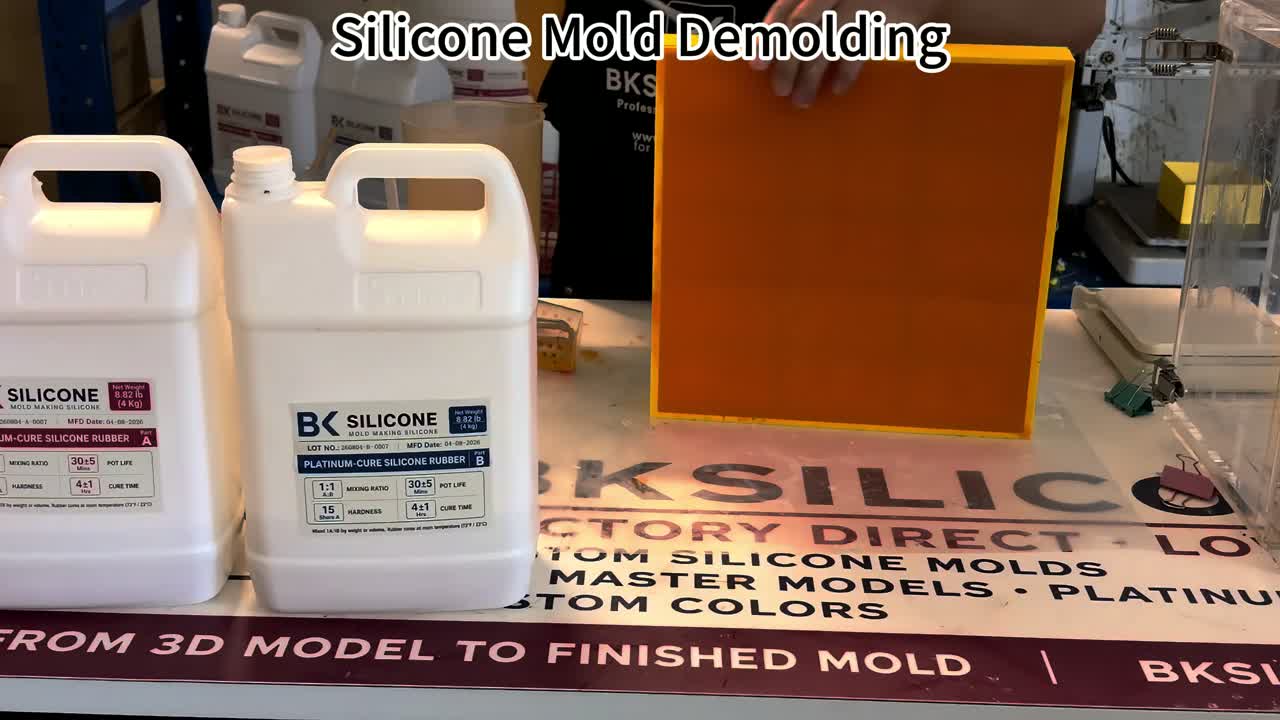
Step 6 — Silicone Mold Demolding
The cured silicone is released from the housing and separated from the master shapes. No curing duration is specified for this video; use the curing instructions for the silicone being processed.
About this custom project
This is a mold-making process demonstration, not an in-stock product listing. No customer identity or purchasing link is included.
Explore our custom silicone mold capabilities, learn about platinum-cure silicone, and review our quality and compliance information.