
BK SILICONE FACTORY CASE · G6002
This factory case follows a 30CM (11.8 in) Athena Warrior Goddess project from the 3D printed master and sealed mold housing through a controlled two-stage silicone pour, demolding, trimming, and a plaster casting test. The goal was not only to make the mold, but to verify the reproduction quality with a finished casting.
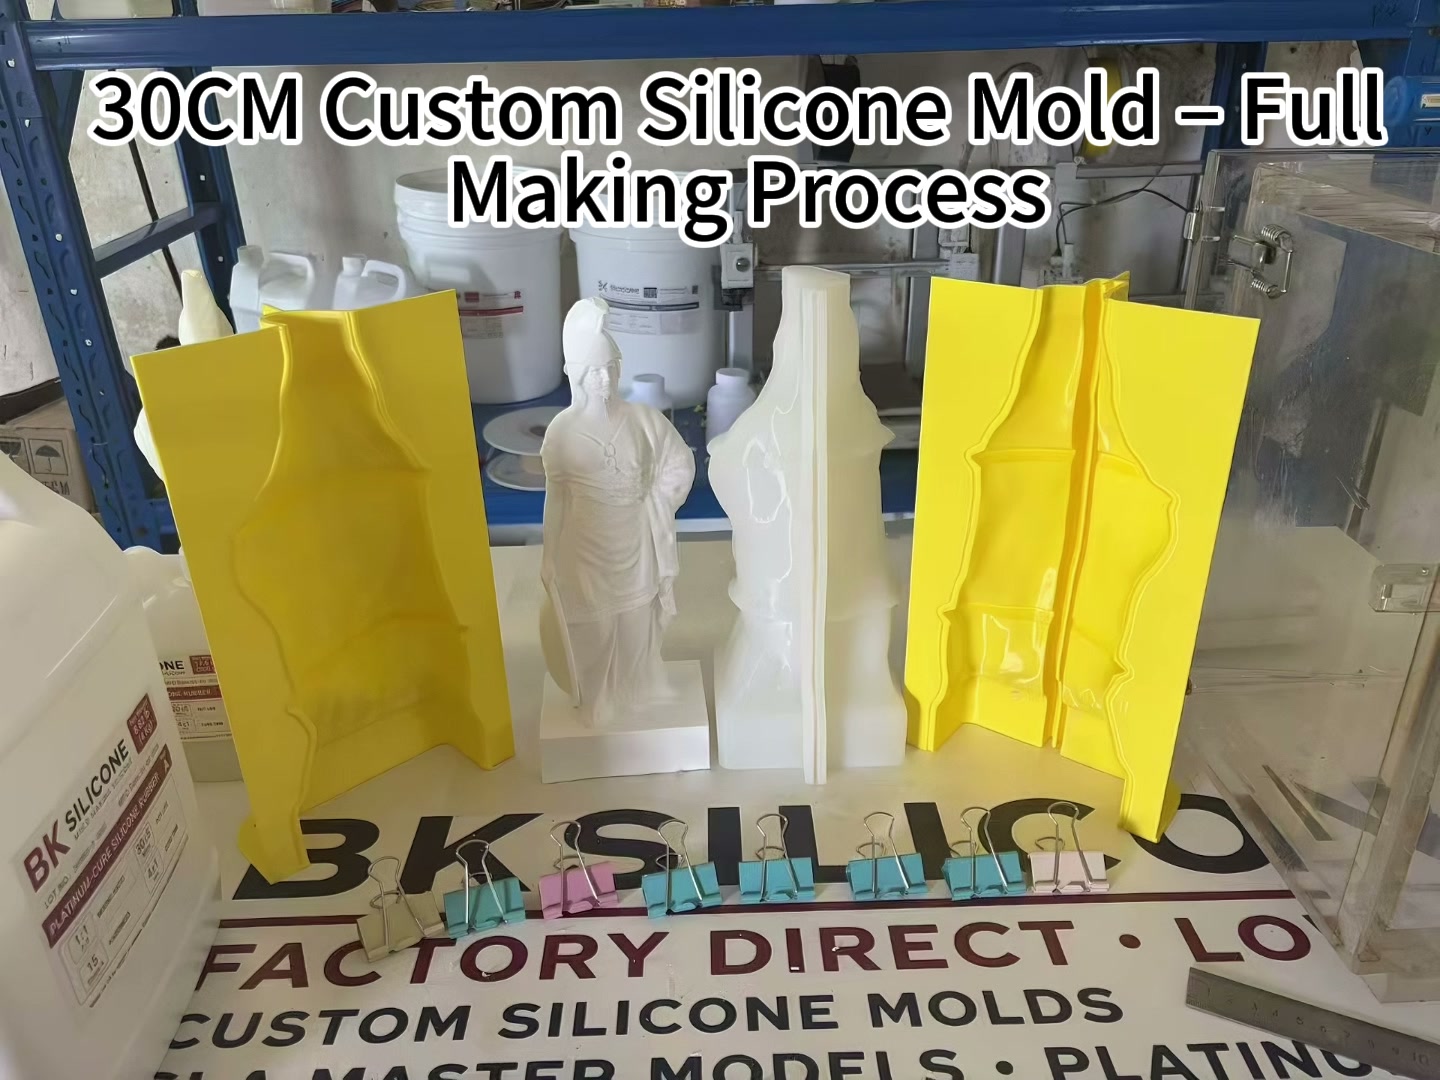
Watch the Complete G6002 Mold-Making Video
The full production video shows the same workshop run documented below, including the first pour, the 40-minute interval, second pour, silicone demolding, trimming, plaster casting, and final inspection.
1. 3D Printed Master and Mold Housing
The project began with a completed 3D printed Athena master and a rigid two-part housing. The master carries the surface information that the silicone cavity must reproduce, while the housing supports the flexible mold during pouring and later casting.
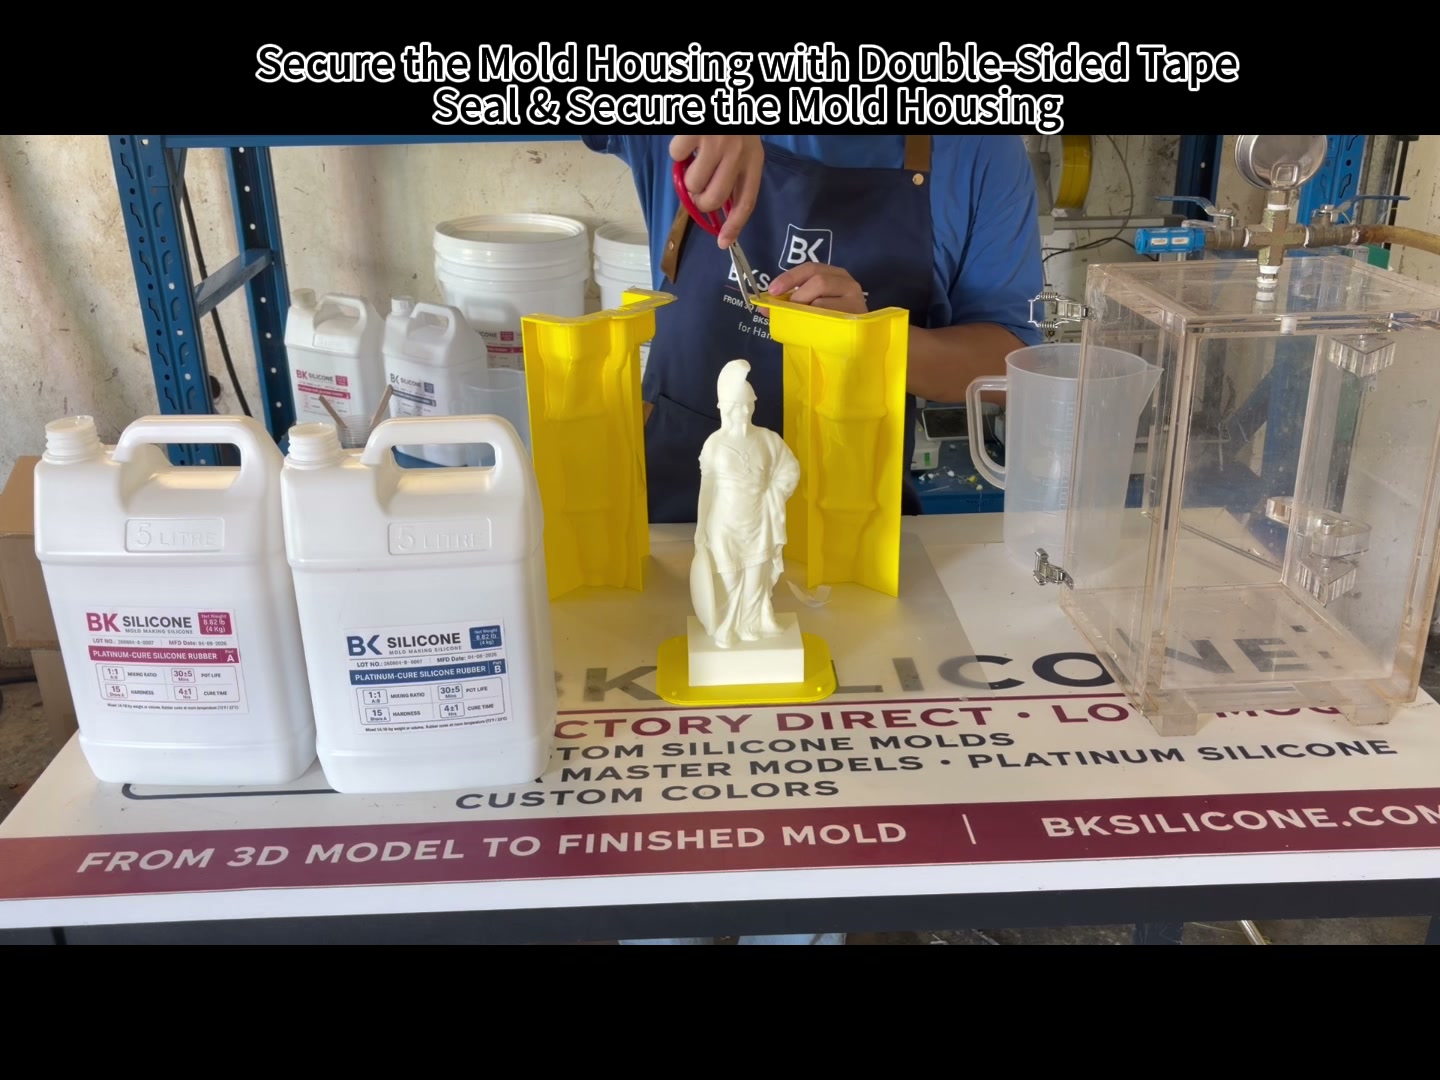
2. Preparing and Sealing the Mold Housing
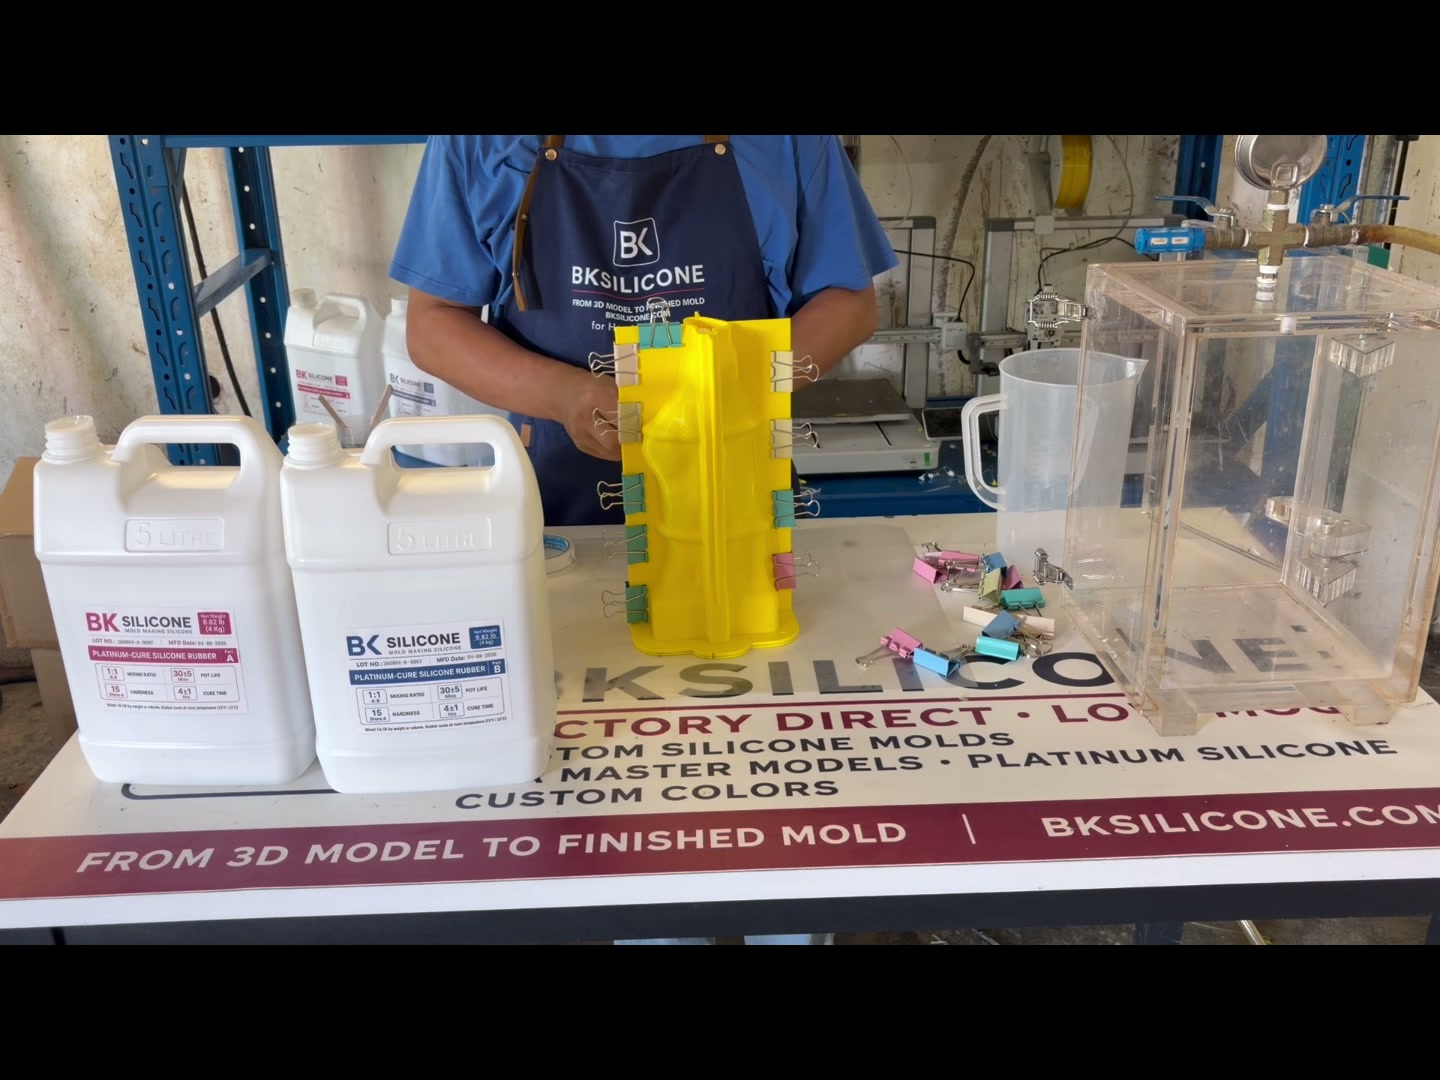
The housing was secured around the master, and double-sided tape was used along the lower contact area to help seal and hold the assembly. For a tall mold, the bottom and edge seals need a careful visual check before any liquid silicone is added.
A rigid housing does more than define the outside shape. It also keeps the mold supported, limits unwanted movement, and gives the operator a clear fill level to monitor.
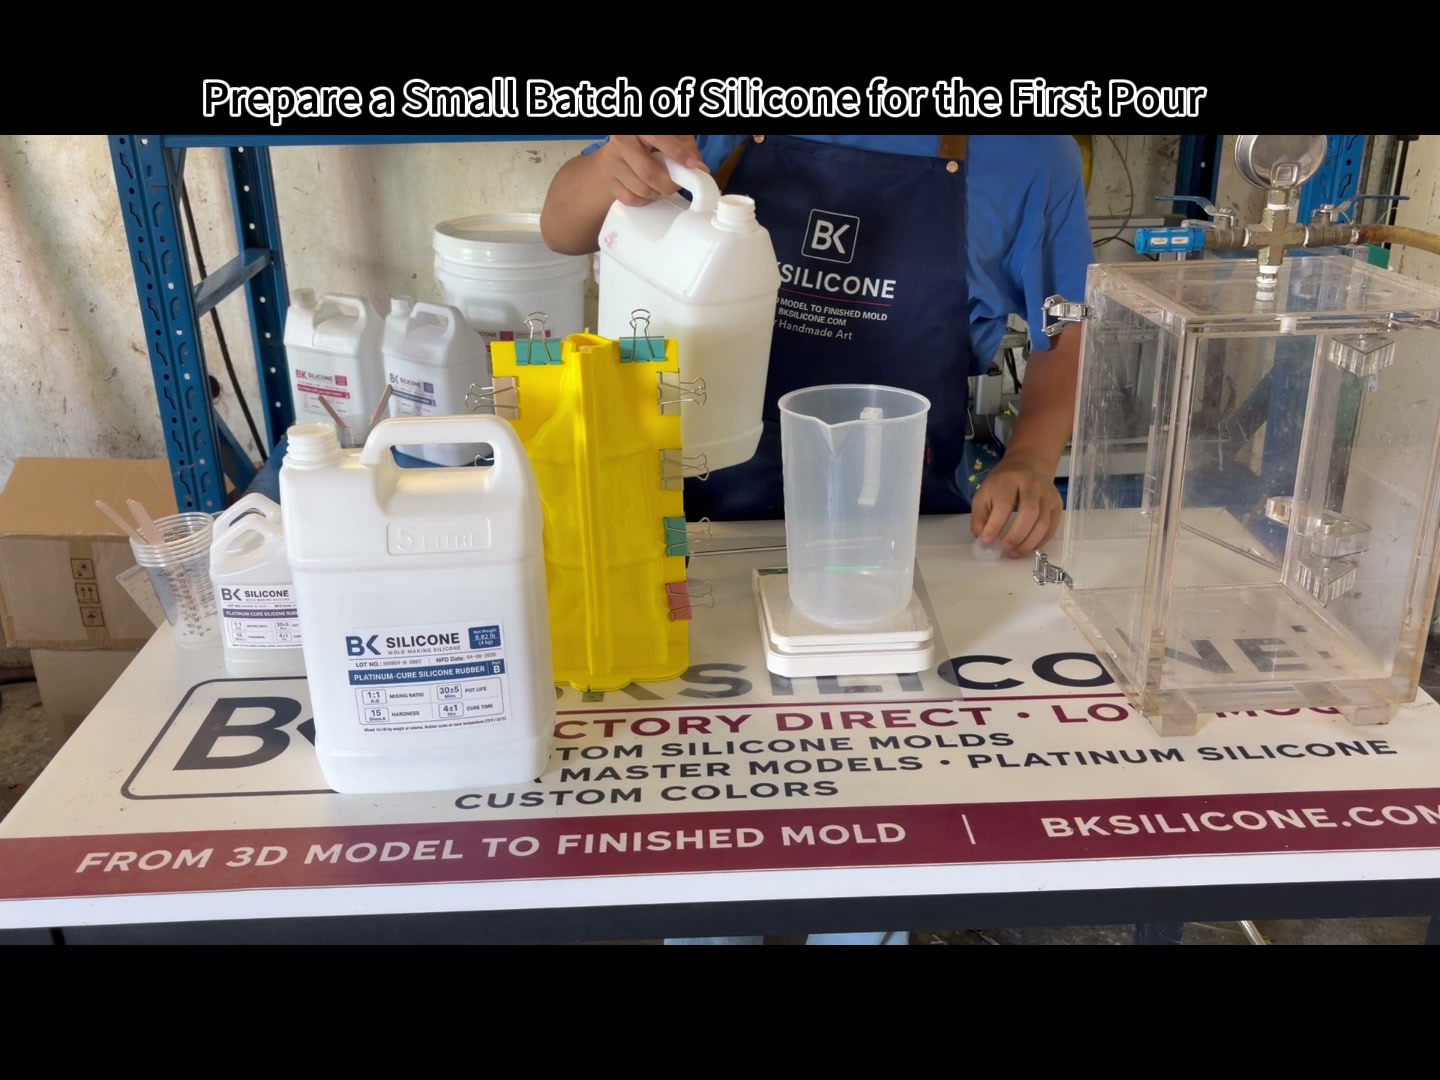
3. First Small Silicone Pour
Instead of filling the tall housing in one heavy operation, the first batch was deliberately small. This controlled first pour helps reduce pressure at the bottom and helps reduce the risk of silicone leakage through the lower seal.
4. About 40 Minutes Later
For this G6002 run, the team waited about 40 minutes before continuing. That recorded interval belongs to this specific workshop case and should not be treated as a universal timing rule for every silicone formulation, room temperature, or mold size.
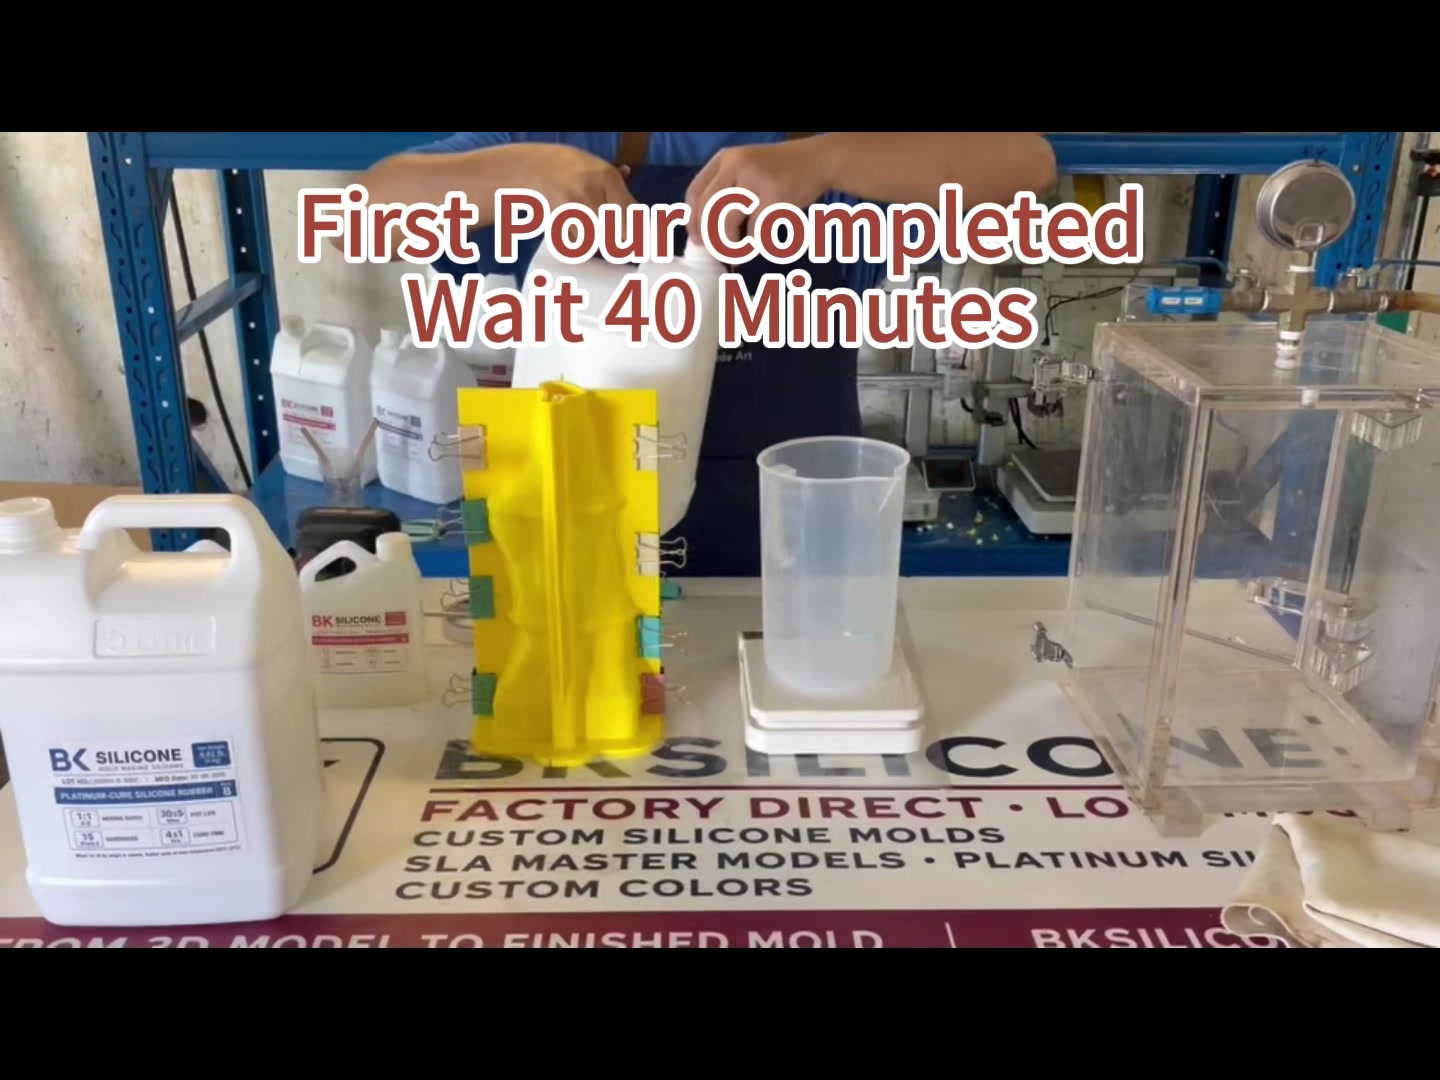
5. Second Silicone Pour
After the first stage had stabilized, the second batch was added to complete the fill. The operator continued gradually until the silicone reached the height required to surround and support the master geometry.
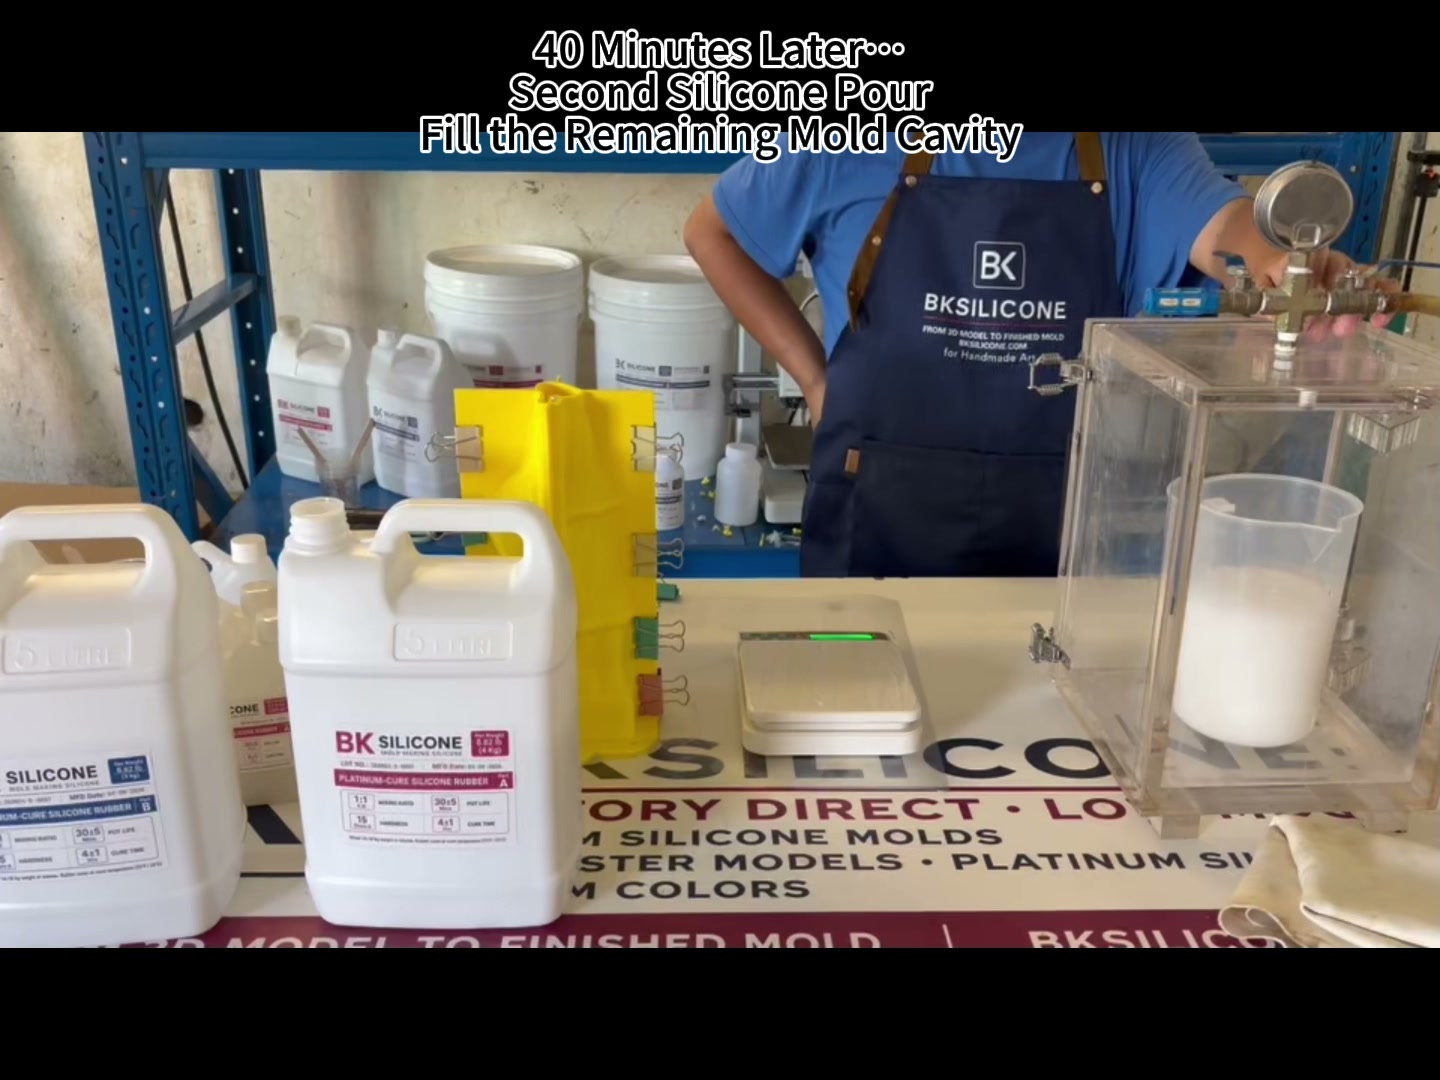
6. Silicone Curing: 4±1 Hrs for This Material
The bottles visible in this G6002 workshop run are marked 4±1 Hrs for cure time. We therefore use that real project value here rather than substituting a generic cure estimate.
The two components were a BK-A Series Platinum-Cure Silicone system mixed at the labeled ratio. Cure time still depends on using the correct ratio, complete mixing, compatible surfaces, and the actual workshop conditions. The mold was left undisturbed until it had cured sufficiently for demolding.
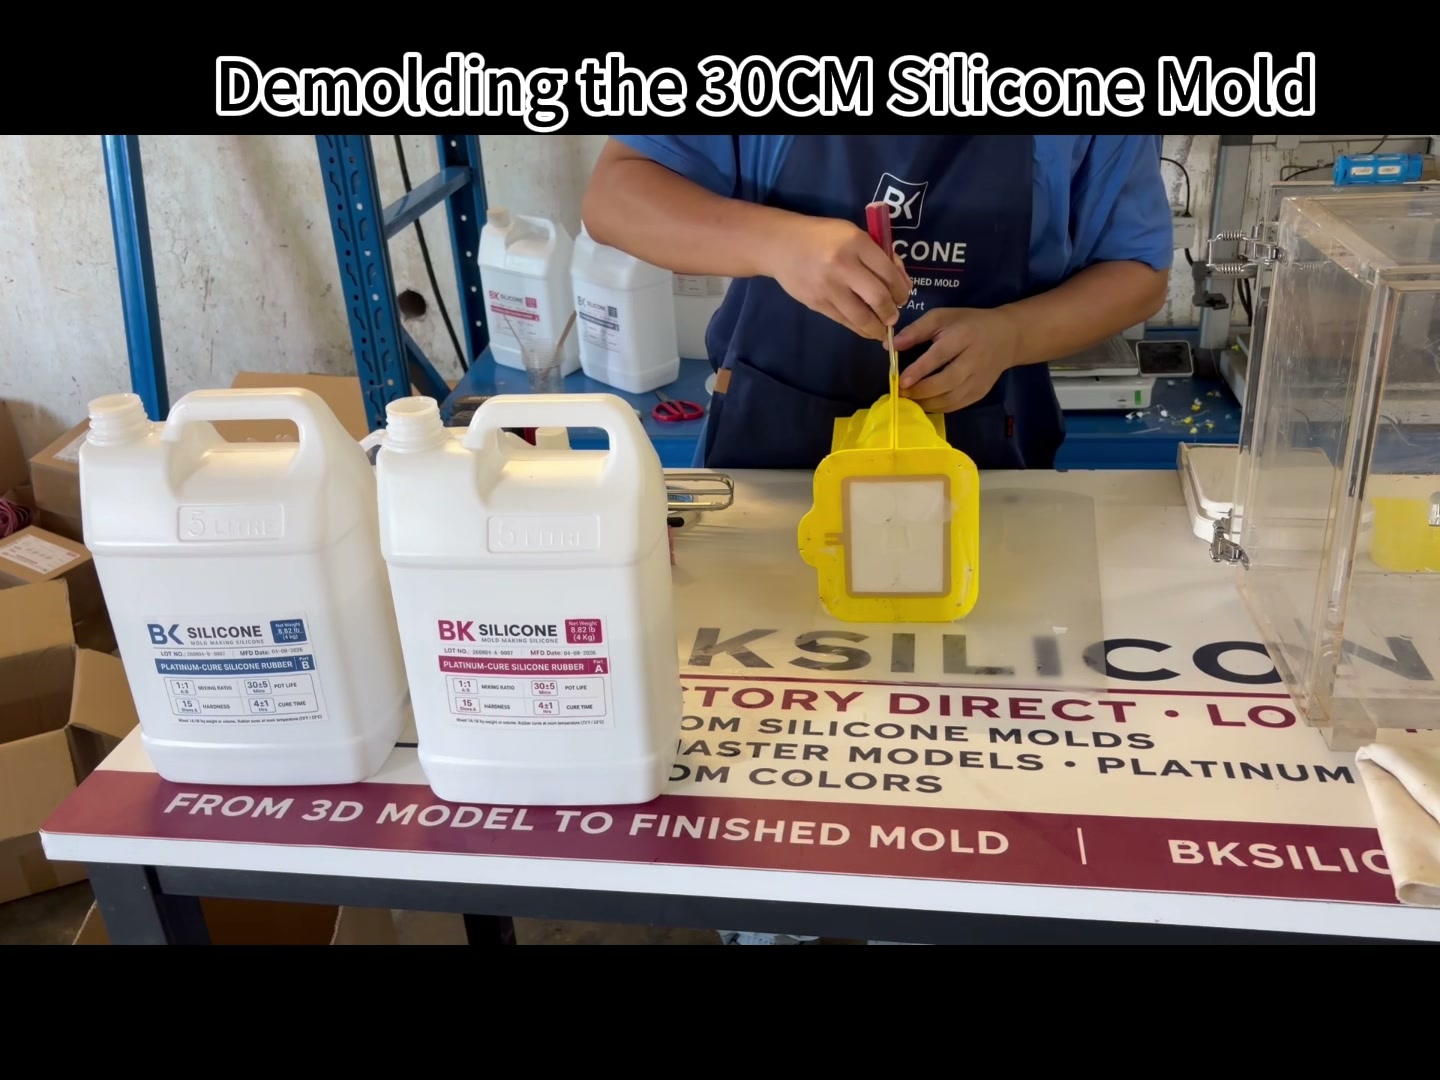
7. Silicone Mold Demolding
Once cured, the outside housing was removed and the flexible silicone was separated from the master. A tall detailed figure is released progressively so that thin features and deep surface detail are not loaded from one point.
This stage provides the first direct inspection of the cavity: the team checks the overall shape, detail transfer, cure condition, and the areas that will become working edges during casting.
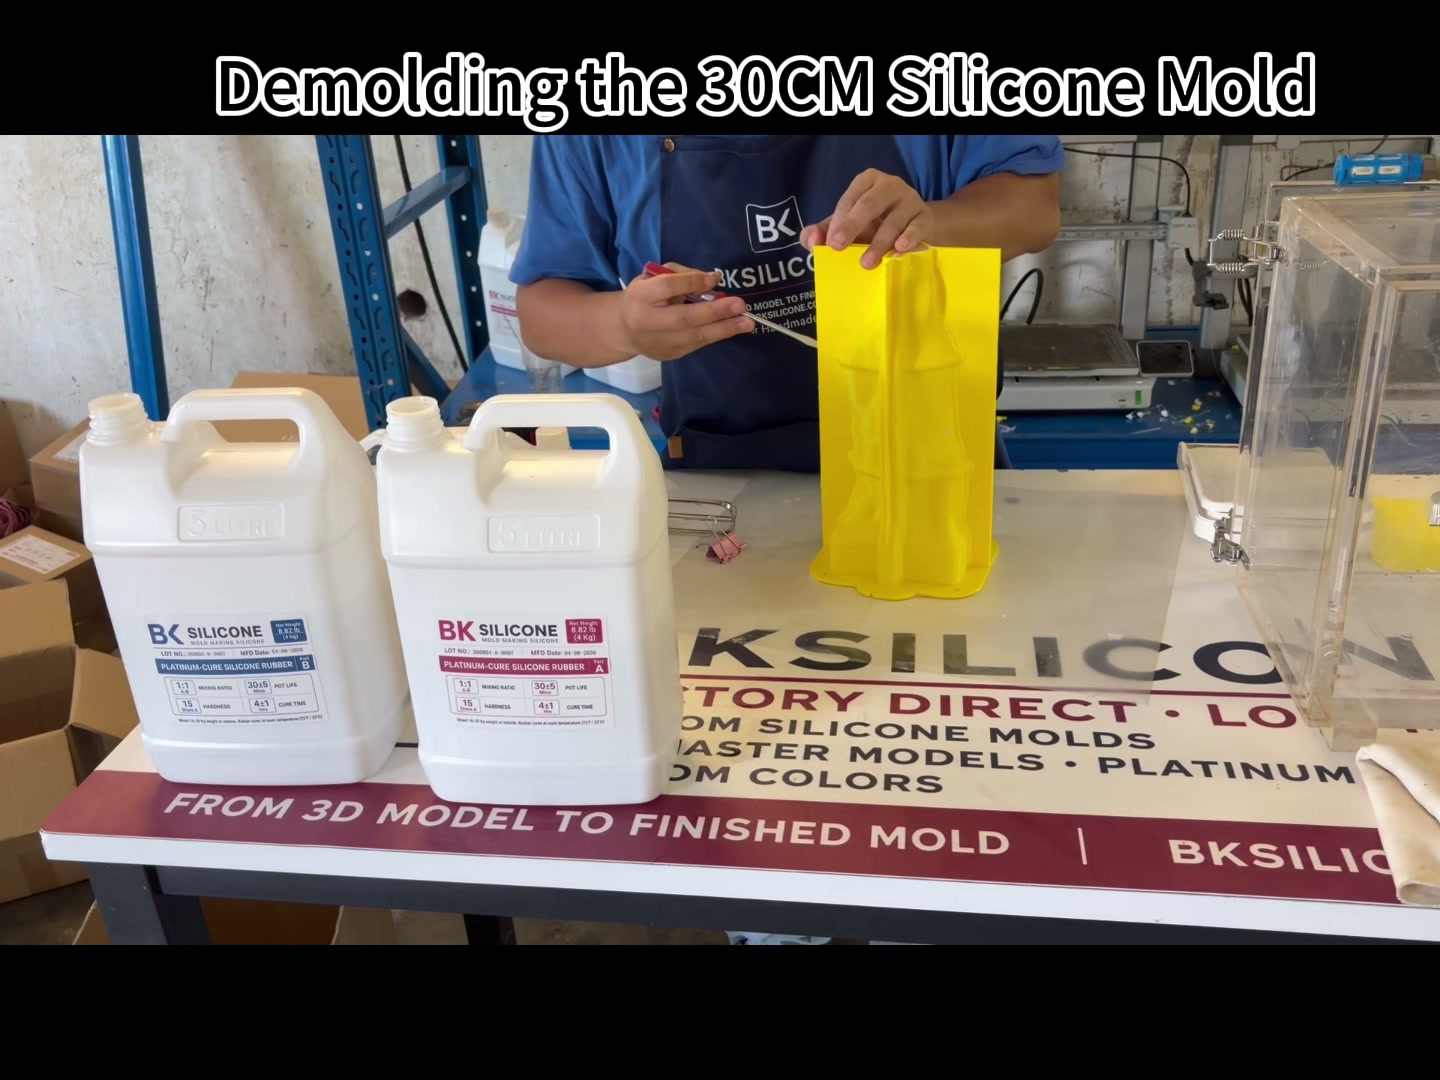
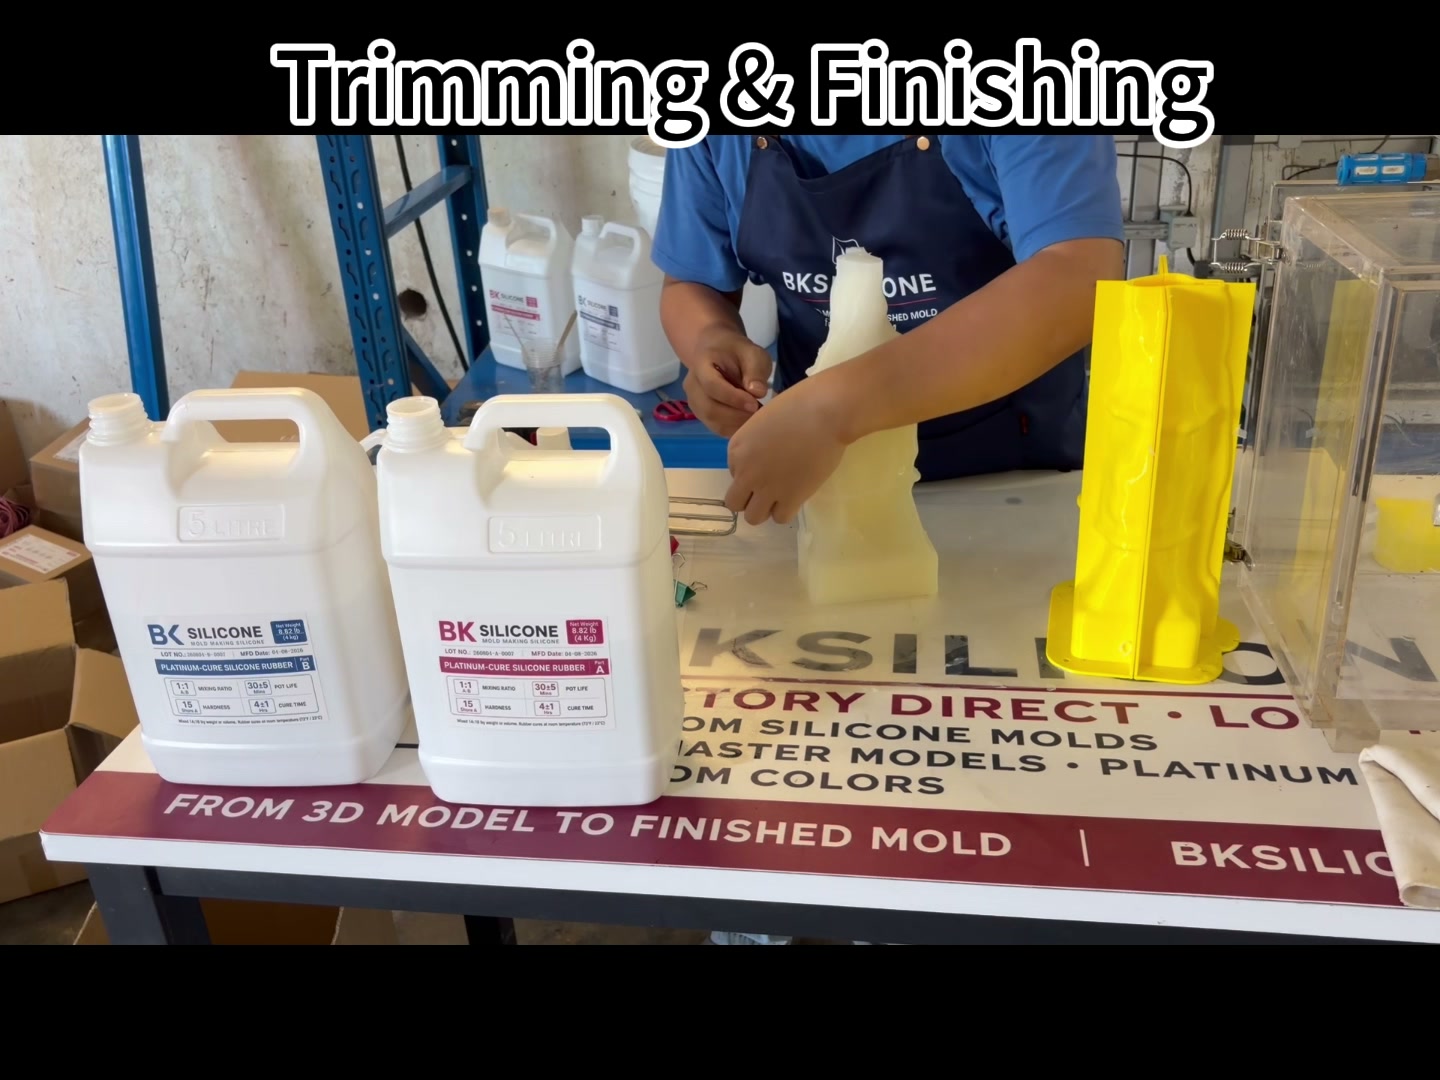
8. Trimming and Finishing
The real G6002 video includes trimming and finishing. Excess silicone around the opening and working edges was removed, while the detailed cavity and functional support areas were preserved.
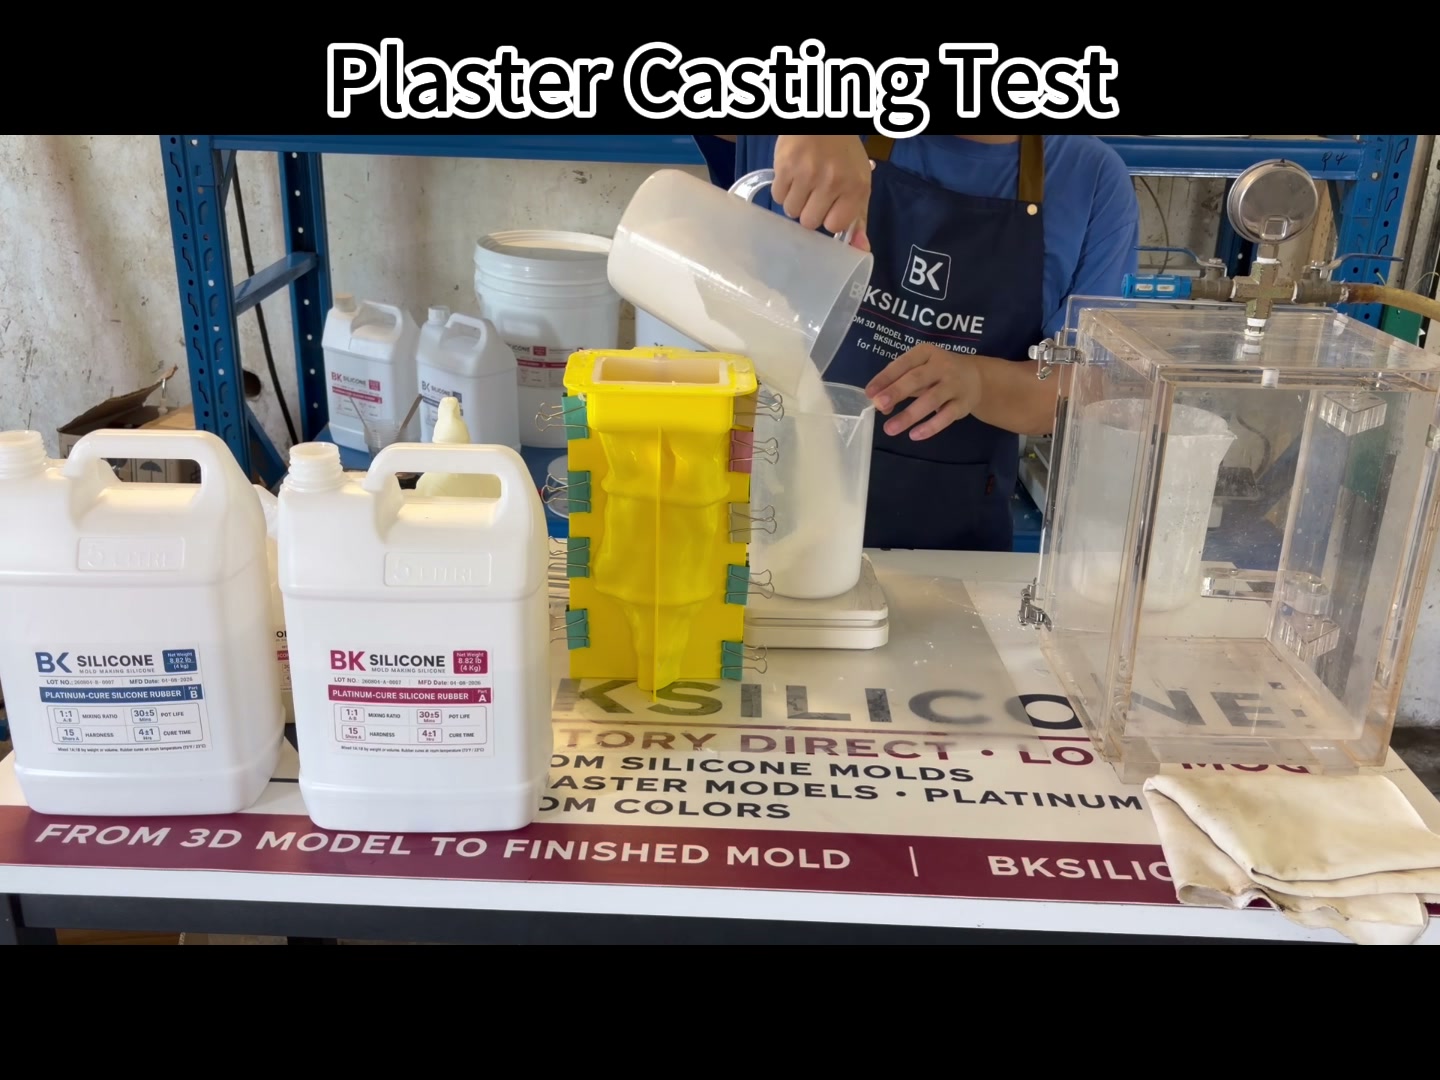
9. Plaster Casting Test
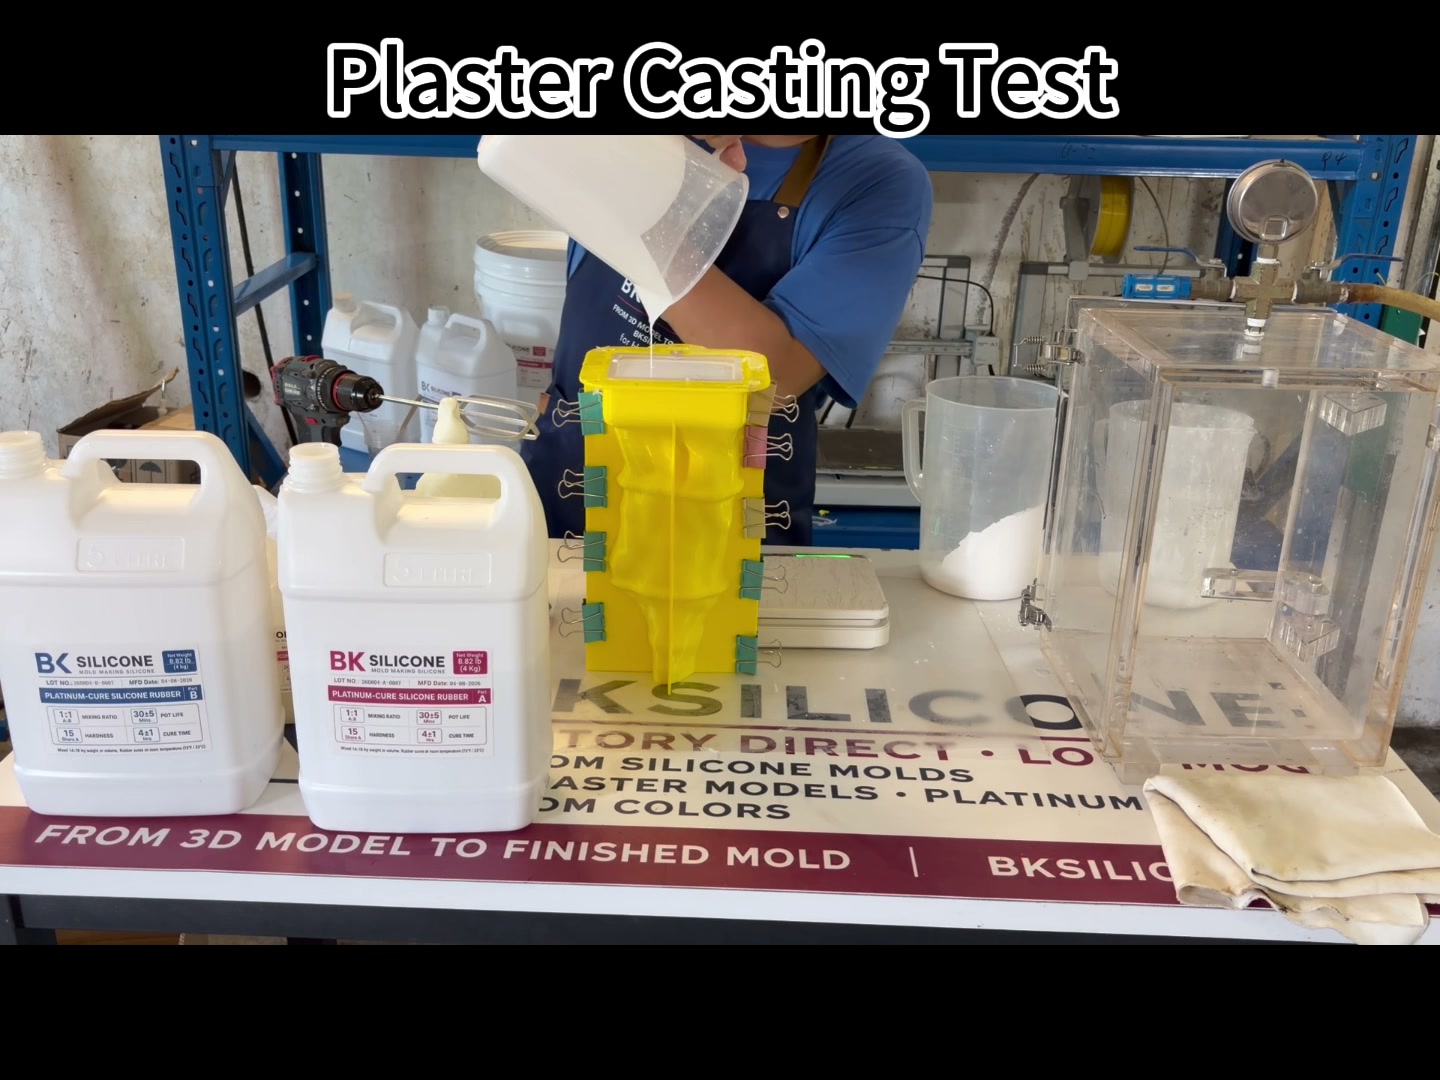
A plaster test was used to verify the completed mold. The mixed plaster was poured into the supported silicone cavity and allowed to set before release.
This test is important because an empty mold can look correct while still hiding a filling, support, seam, or detail-transfer problem. A real casting provides direct evidence of the final reproduction.
10. Plaster Demolding
After the plaster had set, the flexible mold was opened gradually and the casting was removed. The team inspected the statue surfaces, projecting features, base, and rear parting area during release.
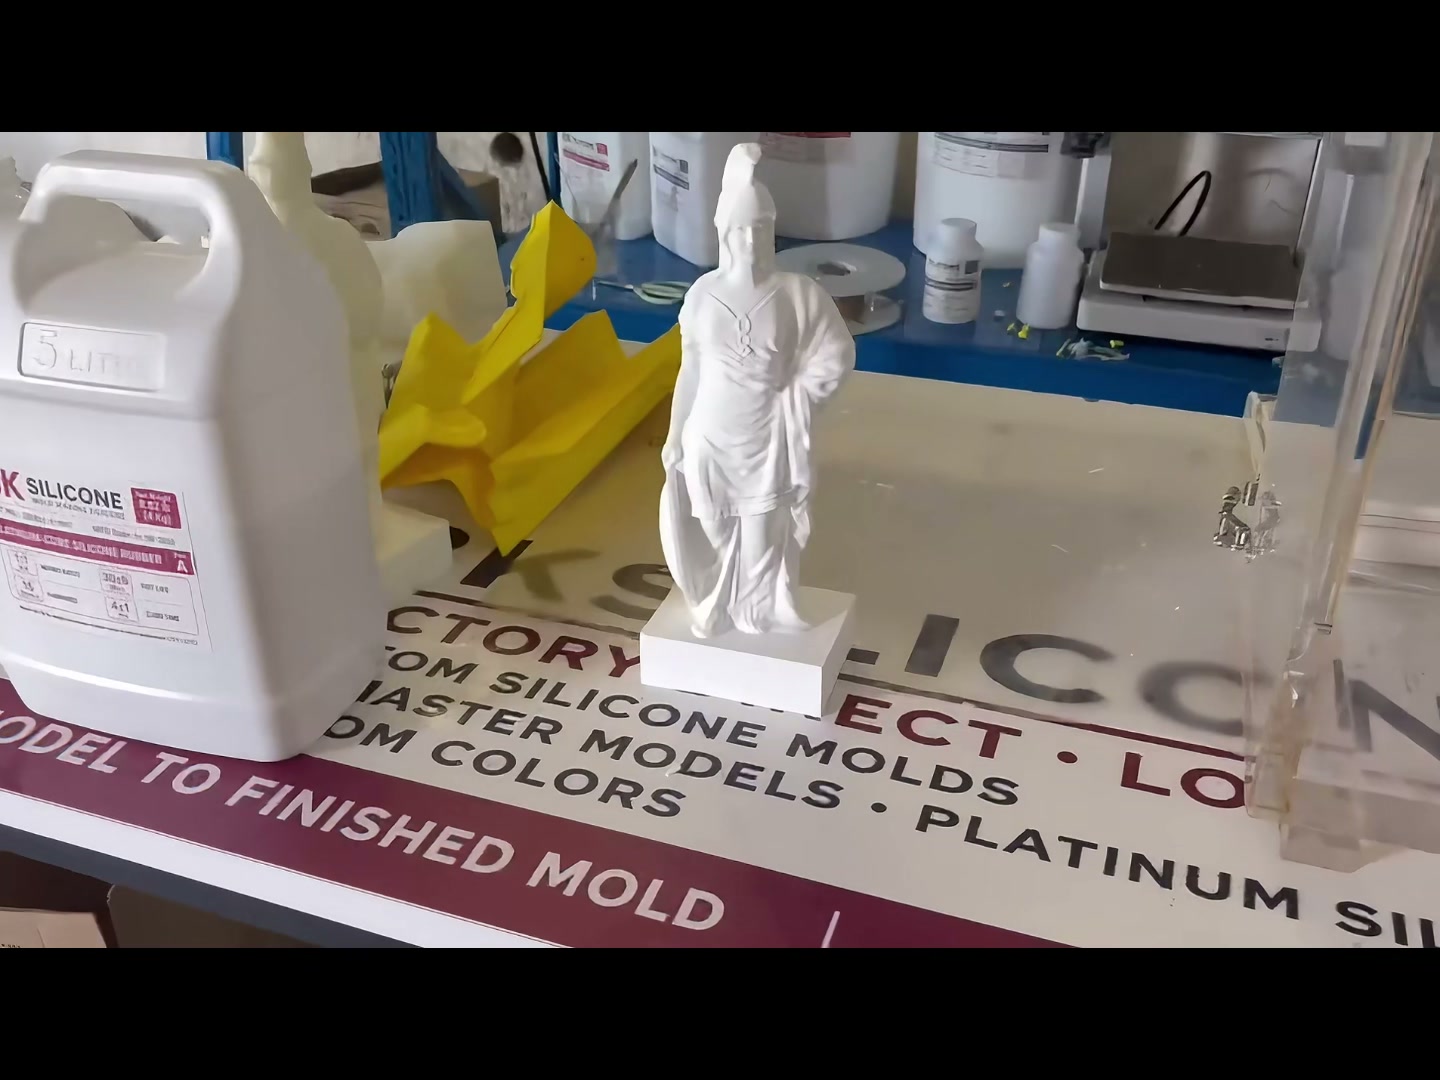
11. Final Result and Casting Verification
The completed white plaster statue reproduced the main Athena form and fine sculpted details. The back parting line was lightly sanded as a casting-finishing step, and the final piece was checked beside the finished silicone mold.
- The sealed housing supported the two-stage pour.
- The real recorded interval between pours was about 40 minutes.
- The material bottles used in the run were marked 4±1 Hrs cure time.
- The silicone mold released from the master and could be trimmed for use.
- The plaster casting reproduced the statue well enough for final visual inspection.